Getting started
Main menu
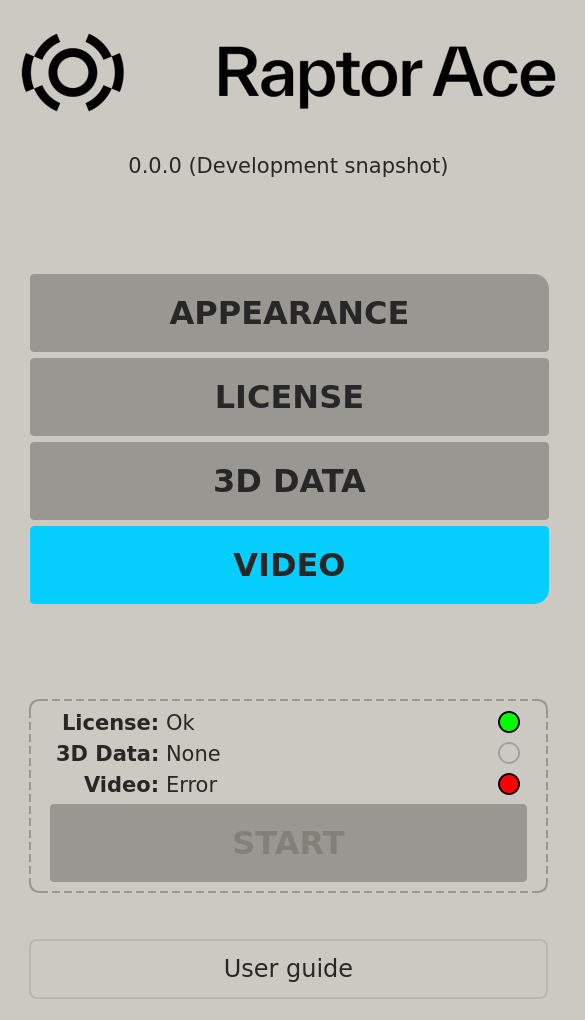
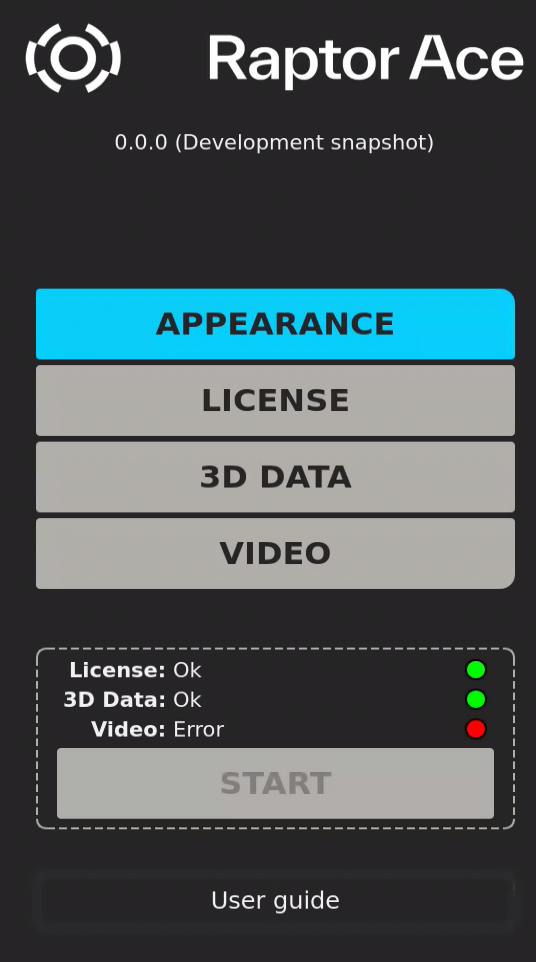
- Configure the settings for each category and then click Start.
Start cannot be chosen until all categories are complete.
The menu settings are saved between sessions.
Appearance
To select an application theme
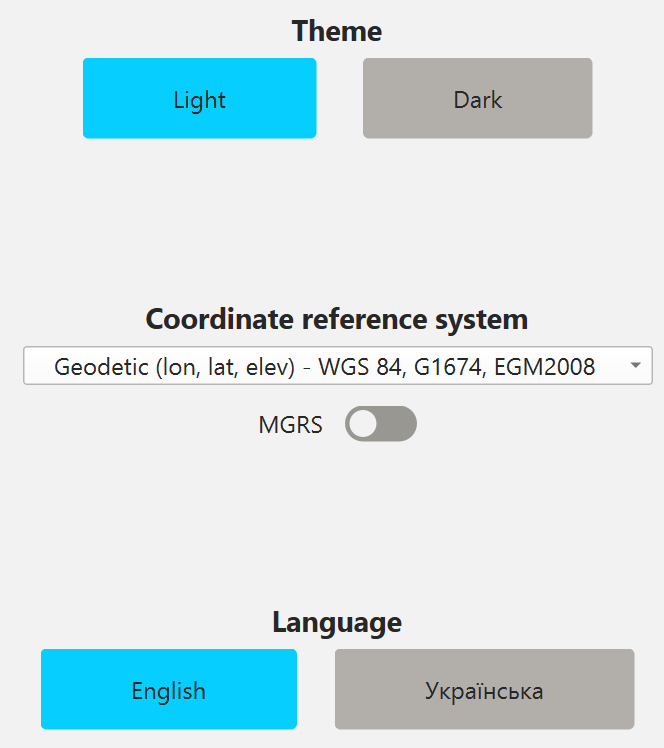
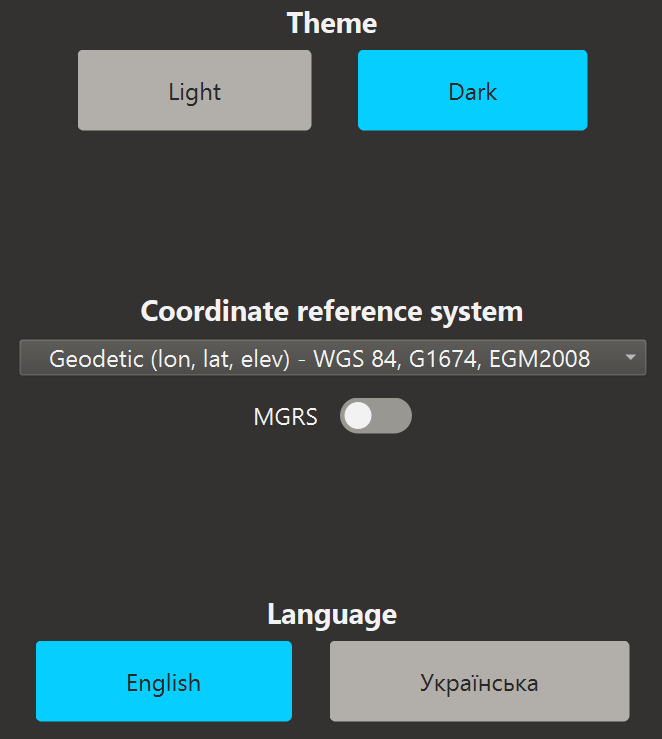
Select the theme for the application:
- Click Light for light mode.
- Click Dark for dark mode.
To select a coordinate reference system
The coordinate reference system controls how coordinates are displayed throughout the application, copied to the clipboard, and entered as a start location under 3D Data. All coordinates use WGS 84, G1674, EGM2008.
- Select Geodetic (lon, lat, elev) from the list to show coordinates as longitude, latitude, and elevation.
- Toggle :material-toggle-switch: MGRS to also enable the Military Grid Reference System (MGRS) format. When enabled, coordinates are shown as an MGRS grid reference with elevation in meters, and longitude and latitude are shown alongside the MGRS grid reference in the point details and the Point list.
The coordinate reference system setting is saved between sessions.
To select a language
Select a language by clicking on one of the language buttons. Default is English. The language change takes effect when the application is restarted.
License
Install a license to use Raptor Ace. Information about the current license is listed in the Installed license information section in the application.
Raptor Ace licenses can be configured with the following capability:
- Multiple devices—A single license file can be valid on multiple devices by including multiple hardware fingerprints.
Contact your point of contact at Vantor to request a license with this capability.
To install a license file
- Click Copy fingerprint to copy the hardware fingerprint to the clipboard.
- Send the fingerprint to your point of contact for Raptor Ace licensing purposes.
- A license file will be generated and provided in response.
- Click Install license and select the correct license file.
The Status bar shows the status of the license.
- OK: Installed license is valid—The license is accepted.
- Warning: Installed license expires soon—The license expires soon. The application can still be used, but consider acquiring a new license.
- If the license is not valid, click Install license to upload a new license file or contact your point of contact at Vantor for help.
3D Data
Raptor Ace requires Vantor Vivid Terrain 3D Surface Model or Vantor WorldView 3D 3DSM (3D Surface Model) data, specifically produced for Raptor Ace purposes, covering the entire intended operational area. For best results, the 3D reference data should be up to date and reflect the current surface of the operational area. The data is delivered as encrypted 3D Tiles, obtained from Hub, and the support is included in the Raptor Ace application license. Only encrypted 3D Tiles datasets are supported; unencrypted 3D Tiles are not supported.
For more information about the Vivid Terrain Surface Model, see the Vivid Terrain Product Specification. For more information about the WorldView 3D Surface Model, see the WorldView 3D Product Specification.
Contact your point of contact at Vantor to obtain a license with associated data.
To import a dataset
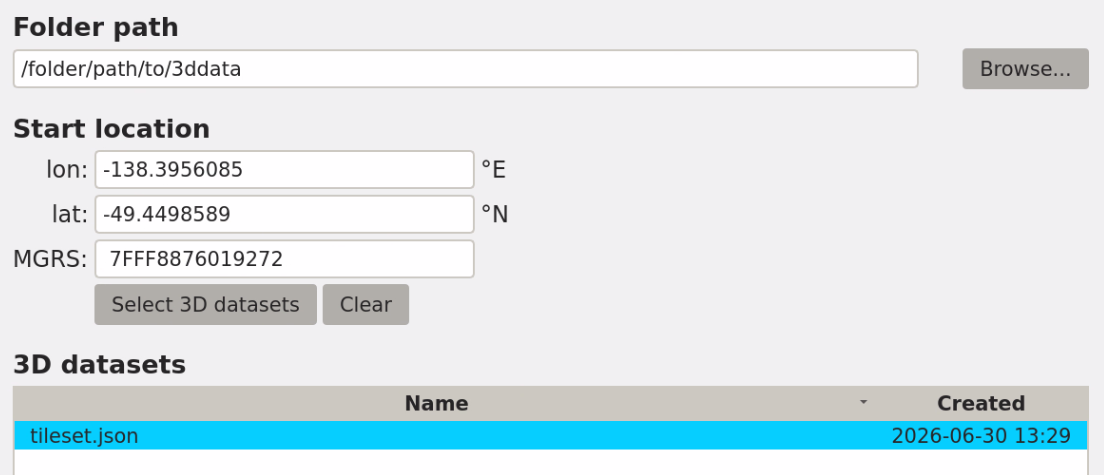
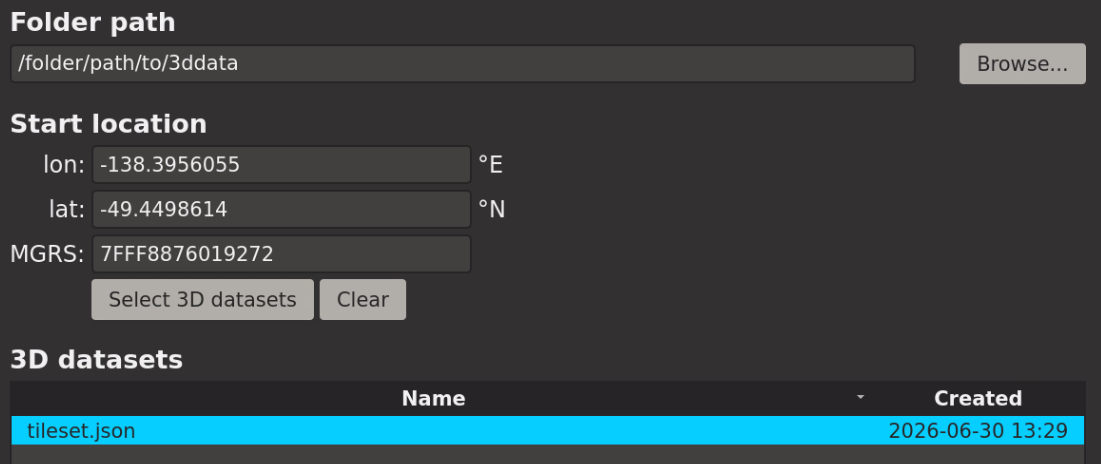
- Enter a file path in the Folder path text box, or click Browse to add a dataset.
The dataset appears in the 3D datasets section.
- Click on the dataset in the 3D datasets section to include it in the 3D data panel.
- Optional. Enter a start location to set where the 3D reference data will start from. Enter the longitude and latitude. When MGRS is enabled under Appearance, an additional MGRS field is shown, and you can enter either the longitude and latitude or an MGRS grid reference—the other is updated automatically to match.
- Click Select 3D dataset or press Enter. The dataset containing the start location will be highlighted.
- Click Clear to clear the start location and selected datasets.
If the start location is too far outside the dataset, the status bar shows Warning: Start location is outside selected 3D dataset, but it is still possible to proceed after a dataset is manually selected. A start location in close proximity to a dataset can be chosen in order to view the data from the outside and look in.
- OK—3D data is imported and selected, with or without a start location entered.
- Warning: Start location is outside selected 3D dataset—3D data is imported, selected, and a start location outside the 3D data is selected.
- None: No folder selected—No data folder has been selected. Enter a folder path or click Browse.
- None: No 3D dataset found in the selected folder path—No dataset is found in the data folder. Enter a new folder path or click Browse.
- None: No 3D dataset selected—No dataset is currently selected. Click on a dataset in the 3D Datasets section.
Video
Raptor Ace requires a connected drone to provide live video feed for initialization, navigation, and point extraction.
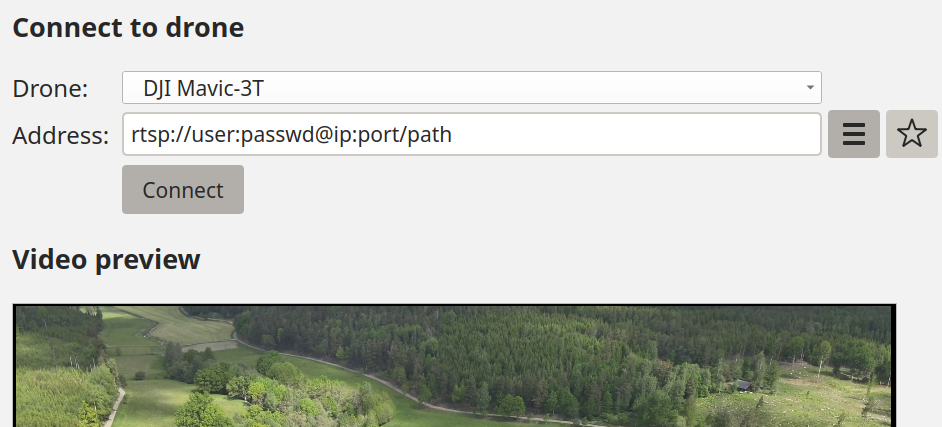
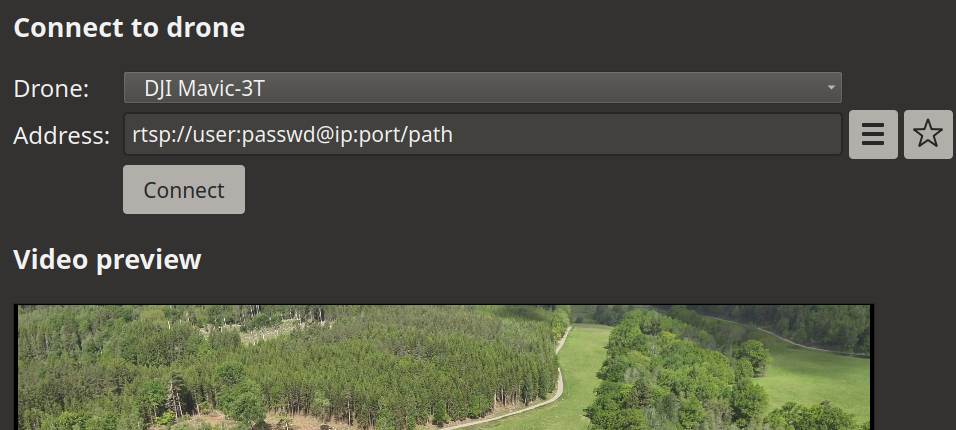
To connect to a drone


- Select a drone from the dropdown list.
- Enter the corresponding drone address in the Address field.
- Optional. Click ☰ Select from recent or favorites to view a list of recently used and favorite addresses, and select an address from there.
- Optional. Click ☆ Add to favorites to add the address to the favorites list.
- Optional. Click ★ Remove from favorites to remove the address from the favorites list.
- Click Connect to connect to the drone.
A live video and the status OK: Connected will appear when Raptor Ace is connected to the drone.
- OK: Connected—The drone is connected and a live video is available.
- None: No drone selected—No drone is currently selected. Select a drone from the list.
- None: No drone address entered—No drone address has been entered. Enter a drone address in the Address field.
- Error: No valid field of view data received—The drone is connected, but no valid drone feed is received. Check the drone connection and then reconnect the drone.
- Error: Failed to connect—The drone failed connecting to the application. Check the drone connection and then reconnect the drone.
Start
Click the Start button after completing each category to start the main Raptor Ace view.
- ⚪ None— No settings are configured.
- 🟢 Ok—Settings are configured and accepted.
- 🟡 Warning—Settings are accepted with some warning.
- 🔴 Error—Settings are not correctly configured.
If the Start button is not available to click, ensure all categories are correctly configured.
User guide
Click User guide to open this guide for using Raptor Ace.